
Barrows
Six brothers, six crypts, a tunnel network and a reward chest with a 21-item main table plus per-brother sets.
Barrows is a six-crypt run in the swamps of Morytania. You dig into the burial mounds one at a time, wake the brother buried in each, then find the tunnel hidden under one of them and open the chest at its centre. It pays in the level 75 degradable barrows sets, plus runes, potions, herbs and coins.
Getting to the mounds
Six burial mounds sit in the swamp, each capping a sealed crypt. A games necklace teleport puts you a short walk away once you have finished Priest in Peril, and without the quest you walk the whole way. A strange old man wanders the ground outside the mounds and hands out spades free of charge, so turning up without one costs you a detour rather than a trip home.
Digging is the only way in. Stand on the digging patch on top of a mound with a spade in your main hand and use it. Your vision goes dark for a couple of seconds while you work, and if you step off the spot in that time you stop digging and get nothing. Stay still and you drop into the crypt below. Walking onto the crypt's exit point puts you back on the surface and kills off anything you left alive down there.
How a run works
Every crypt holds one gravestone. Click it and the brother buried there rises. He spawns for you alone, so nobody can tag him or steal the kill, and he stays until he dies or you leave through the exit. Kill him, climb out, move to the next mound and repeat. The brothers count as bosses, they award Slayer experience, Sumona can set Ahrim as a boss task, and each of them can rarely leave behind a Soul of Barrows Brothers.
One of the six crypts, picked when the run begins, hides no fight at all. Clicking that gravestone offers you a tunnel entrance instead, and accepting drops you into the network below. The brother from that crypt is not skipped, he is waiting at the chest.
Your hotbar tracks brothers killed out of six and a loot potential figure that rises with the combat level of everything you kill inside the Barrows. The /barrows command lists which brothers are still alive, or tells you that you have not started a run. If you die, your items go to a grave in the graveyard outside the mounds for thirty minutes, and you lose your place in the current crypt but keep every brother already killed.
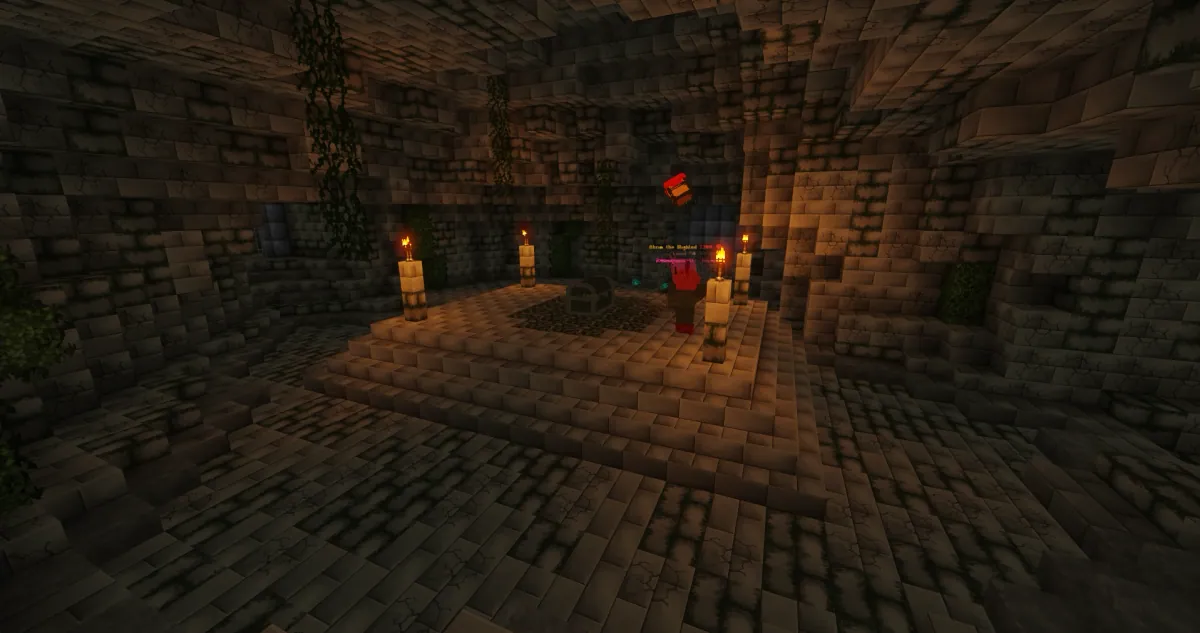
Inside the tunnels
The tunnel drops you at one of four entry points at random, so the walk to the middle is never the same twice. The corridors are full of crypt rats, crypt spiders and crypt skeletons. Individually they are trivial, but they are the only way to push loot potential past what the six brothers give you on their own.
Four gates sit between you and the centre, and two of them are locked at random when the run begins. Clicking an unlocked gate steps you through it, a locked one refuses, so part of every run is working out which way round the loop is open. Ropes marked as exits sit at the four corners and take you straight back to the surface if you want out early. The chest waits in the middle of the network.
The reward chest
Click the chest and the brother from the tunnel crypt spawns beside it to defend his hoard. Kill him and click again to open. He is the only brother who strictly has to die, so a lazy run is possible, but the other five are exactly what makes opening the chest worthwhile.
The chest draws on two separate tables. The equipment table only ever offers pieces from brothers you personally killed this run, and every brother killed adds a roll and improves the odds on each one, so a full clear is worth many times a single kill. Even then, a piece of equipment is a rare result rather than an expected one. Anything you pull off it is recorded in your boss collection log.
The general table also gains a roll per brother killed, and loot potential decides which of its tiers are open to you. Coins sit at the bottom. Higher up come potions, runes, noted flax, sugar and herbs, cooked sharks and bolt racks, and the top of the table, wrath runes and a dragon chain helmet, only opens at maximum loot potential. Taking the loot ends the run: you are teleported back to the surface and all six brothers reset.
The six sets
All twenty-four armour pieces need 75 Defence, with Ahrim's also listing Magic and Karil's listing Ranged. The four melee sets carry identical defensive numbers, so picking between Dharok, Guthan, Torag and Verac is purely a question of which effect you want. Every piece dampens your damage in the two styles it is not built for, so mixing pieces from different sets loses you the effect and gains you nothing.
A set effect needs all four armour pieces and that set's weapon in your hand. Wearing the armour alone does nothing. Dharok's hits harder the lower your health falls. Guthan's sometimes heals you for part of the damage you deal. Torag's can shrug off an incoming melee hit entirely. Verac's can leave a target easier to damage for a short while. Ahrim's curses anything you hit with magic so it deals less damage back, and Karil's ranged attacks can occasionally hit twice.
All six weapons are two-handed. Torag's hammer hits hardest and swings slowest, with Dharok's greataxe just behind it, Guthan's spear in the middle, and Verac's flail the fastest and lightest of the melee four. Ahrim's staff is the magic option. Karil's crossbow fires bolt racks and nothing else; the chest supplies them in bulk, and Ak-Haranu in Port Phasmatys stocks them if you run dry.
Wear and repair
Every barrows piece carries a durability pool. Armour loses a point each time you take a hit, on every piece you are wearing at once, and weapons lose a point each time you swing, shoot or cast a combat spell. Armour has a deeper pool than the weapons do, but a long trip in a full set with its weapon burns through five items in parallel.
When a piece hits zero it stops functioning. Dead armour gives you no protection at all and breaks the set bonus with it, and a dead weapon simply refuses to attack. Bob in Lumbridge restores anything to full for coins: 60,000 for boots and helms, 80,000 for legs, 90,000 for bodies and 100,000 for any weapon. A Smithing skill cape halves those prices. Take the gear off and keep it in your inventory before you talk to him, because he only inspects what is in your bag.
The brothers, crypt by crypt
The magic brother, attacking with spells from a distance and carrying the thinnest defence of the six, which usually makes him the quickest kill. Killing him adds his robes and staff to the chest's equipment pool.
A melee fighter and one of the two heaviest hitters down here, alongside Torag, capable of taking a careless player apart in a handful of swings. Killing him adds his platebody set and greataxe to the pool.
Melee, and slightly harder to cut through than his melee brothers, so fights with him drag on. Killing him adds his set and spear to the pool.
The ranged brother. He is the most awkward of the six to land clean hits on and hits back harder than his kit suggests, so he punishes anyone who trades with him passively. Killing him adds his leather set and crossbow to the pool.
Melee, sharing the highest defence of the six with Verac and hitting as hard as Dharok does. The least forgiving trade on the run. Killing him adds his set and hammer to the pool.
Melee, as well defended as Torag but noticeably softer on the way in. Killing him adds his brassard set and flail to the pool.
A weak scavenger that swarms the tunnel corridors. Worth killing purely because every kill inside the Barrows nudges your loot potential up.
The sturdiest of the three tunnel dwellers, though still no real threat if you are geared for the brothers.
The weakest of the tunnel dwellers, melee only. Cheap loot potential on the walk to the chest.
Wanders outside the mounds and gives out spades on request, free of charge. Click him if you turned up without one.
What comes out of it
 Ahrim's boots
  Ahrim's hood
  Ahrim's robeskirt
  Ahrim's robetop
  Ahrim's staff
  Bolt rack
  Dharok's boots
  Dharok's greataxe
  Dharok's helm
  Dharok's platebody
  Dharok's platelegs
  Guthan's boots
  Guthan's helmet
  Guthan's platebody
  Guthan's platelegs
  Guthan's spear
  Karil's boots
  Karil's chainskirt
  Karil's coif
  Karil's crossbow
  Karil's leathertop
  Torag's boots
  Torag's hammer
  Torag's helm